Week 1: Getting started with HTML and CSS
This section will introduce you to HTML and CSS in the simplest way possible. If you have some basic knowledge of HTML and CSS, you are welcome to skip this section.
In this chapter, you will learn
Getting started with HTML and CSS
All the different pages you see in your browser every day, whether a KFC order page or a news portal, a Douban book review or a Wikipedia page, a personal blog or a document editor, are based on HTML -- the Hyper Text Markup Language. Today HTML is used on the web far beyond what it was originally designed for, but understanding and mastering it is essential for you to implement any complex page.
However, what is described in HTML is only a part of the story: it's for the content part only. If you want your pages to be visually appealing, then a technique to be able to customise styles of the content is needed: CSS - Cascading Style Sheets.
With CSS, we can use selectors to find one element or a class of HTML elements and apply styles to them. Here the style can be visual elements such as background colours, font colours, borders, shadows, and logical layouts such as inner spacing (called padding)and outer spacing (called margin).
In short, we describe the content through HTML and change the style through CSS. HTML describes an unpolished house, while CSS corresponds to finishes (yes, it is sometimes possible to knock out non-load bearing walls to change the layout of the interior of the house).
We can discuss the relationship between the two with a small example below.
<div class="container">
<h1>HTML and CSS are awesome</h1>
<p>
Lorem, ipsum dolor sit amet consectetur adipisicing elit. At eum eius sequi
dolor consectetur omnis quia necessitatibus beatae vero numquam.
</p>
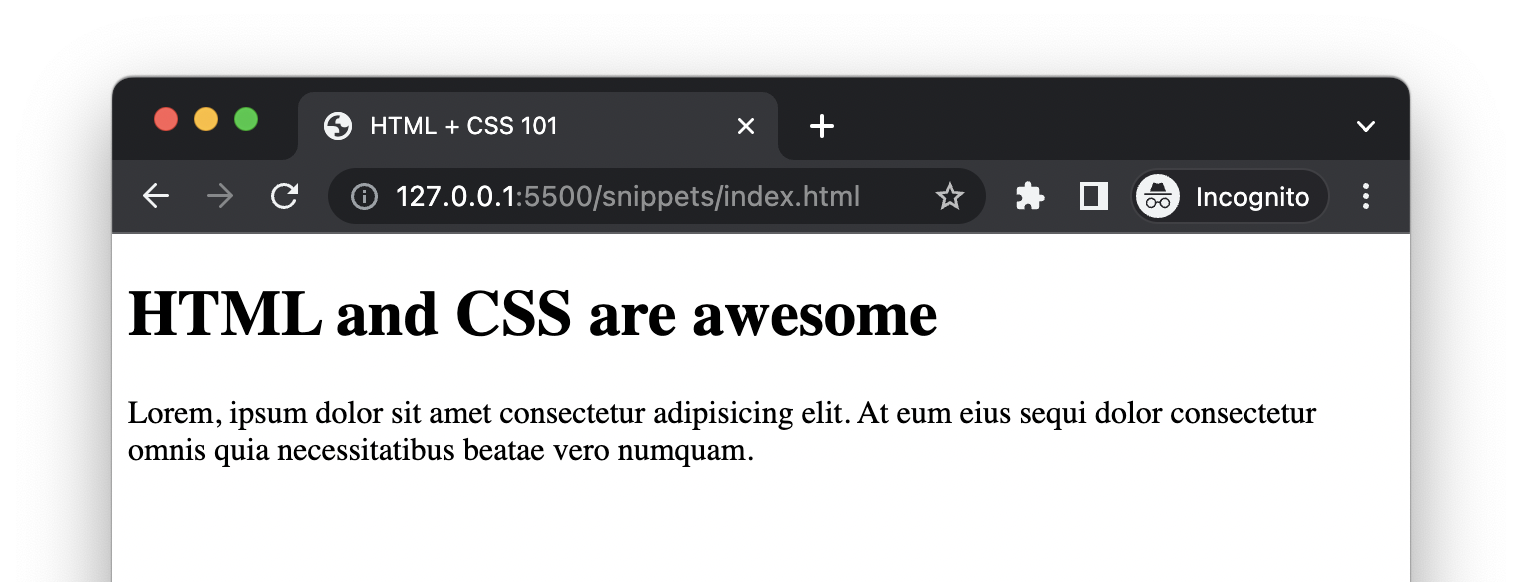
</div>Inside a div (short for divider, an invisible container for other elements), we defined an h1 (meaning heading level 1) tag and then a p tag (meaning paragraph).
By default, the browser would render it as something like this:
And if we define some CSS to modify the style:
.container {
max-width: 800px;
margin: 0 auto;
font-family: "Gill Sans", "Gill Sans MT", Calibri, "Trebuchet MS", sans-serif;
}
h1 {
text-transform: uppercase;
background-color: orangered;
color: white;
}
p {
color: #333;
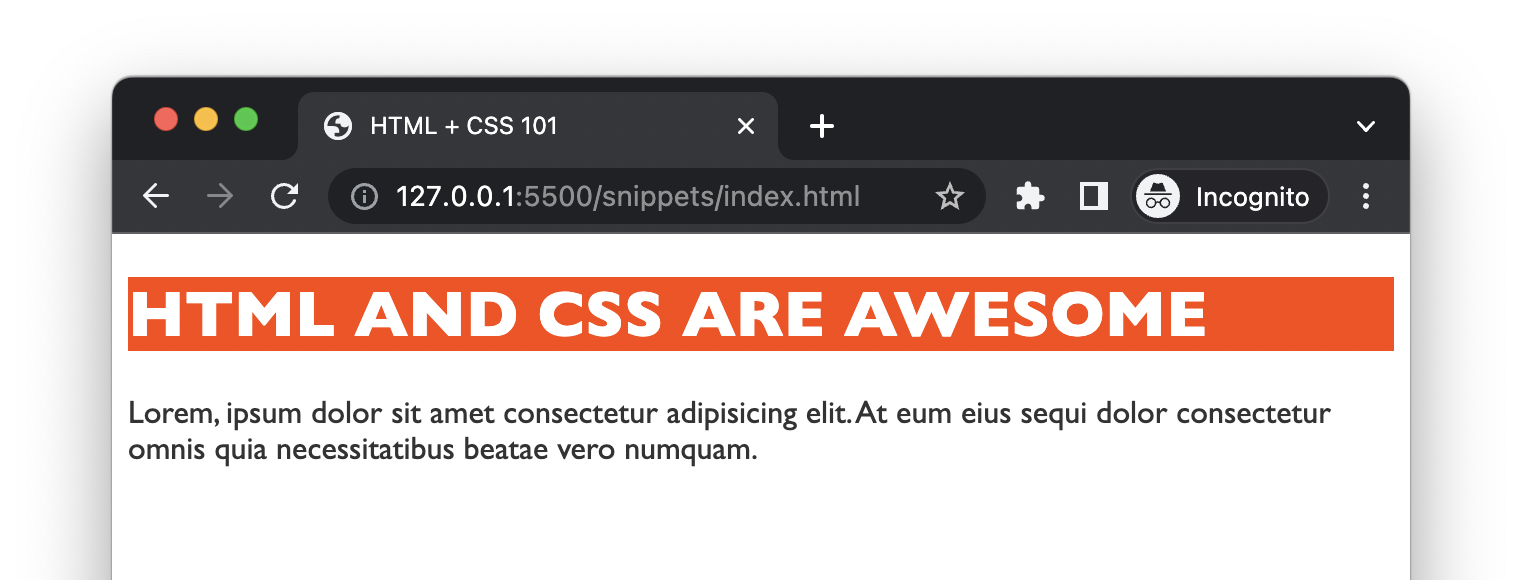
}We could get something more appealing like this:
Don't worry if you don't understand everything at the moment, I'll have you covered. If we apply another style set like:
.container {
max-width: 800px;
margin: 0 auto;
font-family: "Gill Sans", "Gill Sans MT", Calibri, "Trebuchet MS", sans-serif;
}
h1 {
text-transform: capitalize;
color: orangered;
}
p {
color: #333;
font-weight: 100;
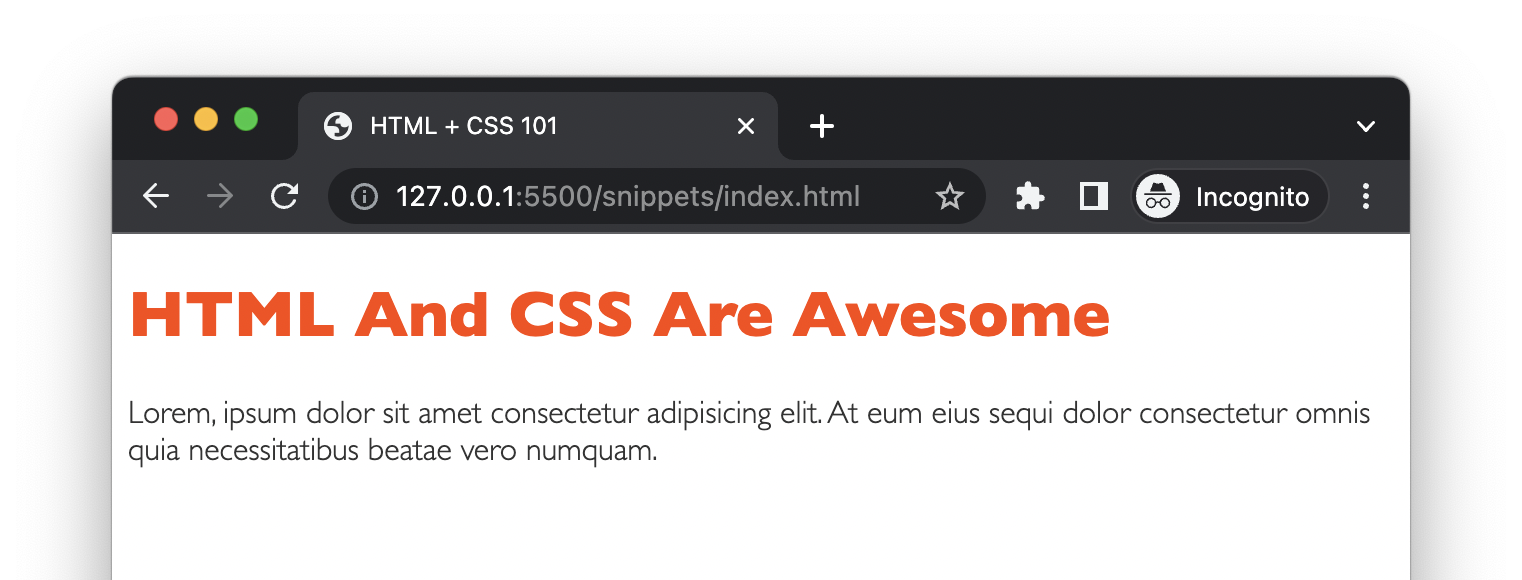
}With no changes to the HTML, we get a completely different picture of the presentation simply by changing the CSS.
Here I have deliberately ignored the place of JavaScript in our projects (which is crucial in any serious web applications), as this book is primarily concerned with the combination of HTML and CSS. Additionally, JavaScript alone has become very rare in web development, and people are more or less need libraries or frameworks such as React or AngularJS for web applications.
Box model
One of the core functions of CSS is to provide layout for page elements, and at the heart of layout is determining the size of an element. To understand the size of an element, we need to talk a little bit about to the box model.
When viewing a particular element in your browser's DevTool, you may have noticed a small set of boxes in the bottom right-hand corner of the page:
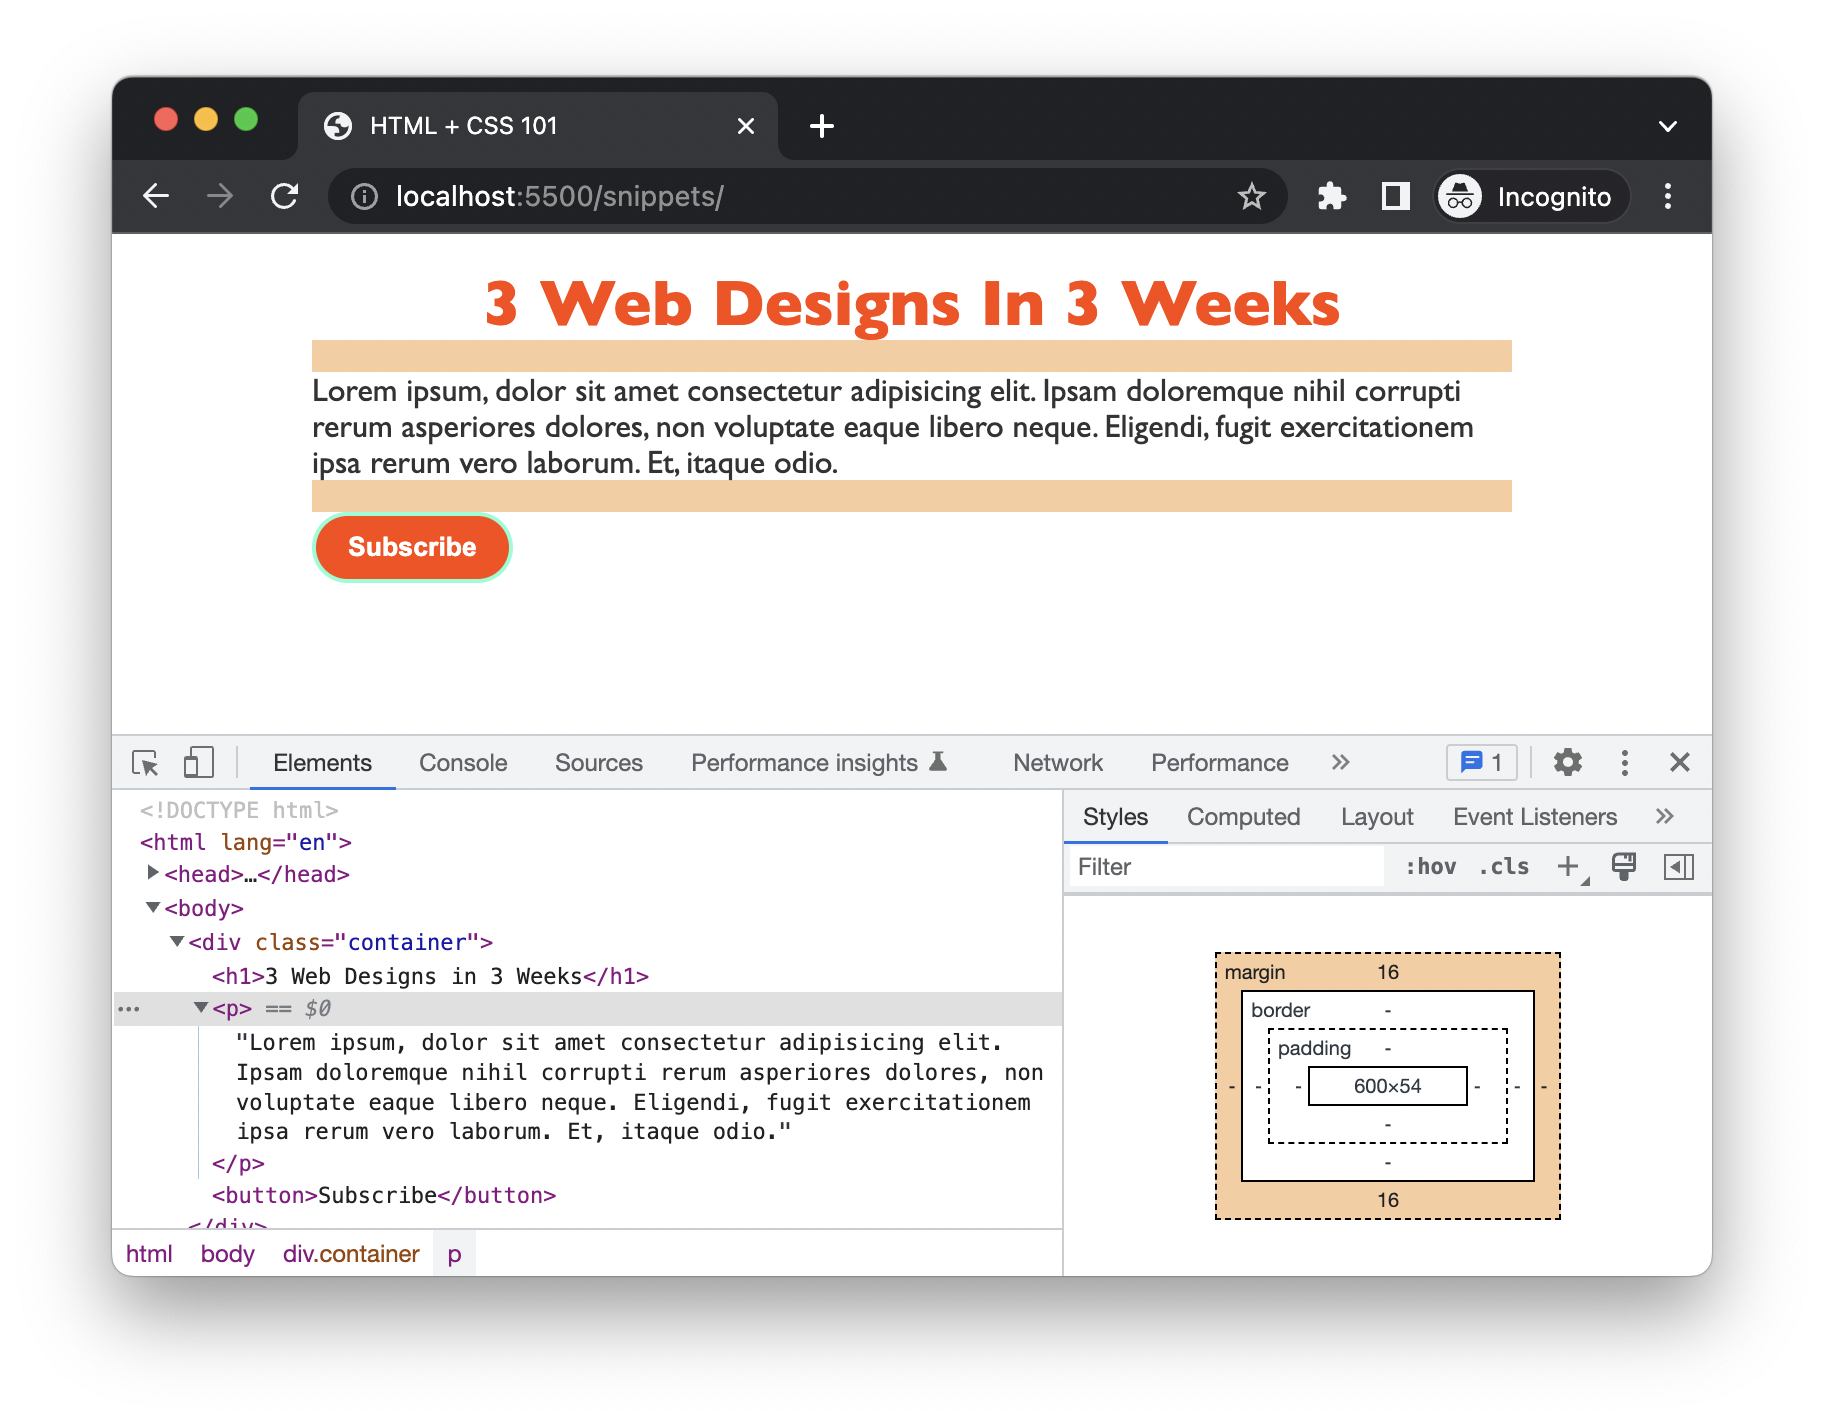
The space that an element occupies on the page is made up of several components: the content of the element itself, the distance from the content to the border: the inner spacing (padding), the width of the border, and the outer spacing between the border and other elements (margin).
We can set these different parts independently in CSS, for example, padding-left to control the left inner spacing, margin-top to control the upper outer spacing, and border-right to control the right border, etc.
I could list many similar trivialities, but to keep you from getting bored, let's start implementing the mockup, where we will learn a lot about the syntax of HTML tags and CSS.
You have Completed Chapter 3
Well done! You've got the necessary HTML and CSS knowledge to start your real development journey now.
In the upcoming chapter, we'll start with the top section of the page - navigation, and we wil surely have a lot of fun there.