Convert to React Application
Chapter 4 transitions the 'Quote of the Day' app into a React application. It covers installing React, setting up a basic React structure, and introduces esbuild for compiling JSX into browser-readable JavaScript. The chapter also includes the implementation of a new feature, where clicking a button displays a new quote.
In this chapter, you will learn
In this chapter, we will continue to develop the "Quote of the Day" application from the previous chapter, introducing some more complex concepts. First, we will integrate React to facilitate page creation. For an application of our scale, using React might seem like using a sledgehammer to crack a nut. However, React is introduced here for two reasons: one, React is a highly popular frontend UI library that readers can easily apply after learning; two, React's JSX needs to be compiled into JavaScript, which naturally introduces the concept of bundling, helping readers reference this in their work.
Aside from React, we'll use esbuild to compile our code into a format that browsers can understand. Functionally, we'll add a button to our webpage; when a user clicks this button, a new quote will be displayed.
Installing and Configuring React
Firstly, we need to install the React and react-dom libraries to our project:
npm install react react-dom --saveThen, create a file named app.jsx in the src directory and modify its content to:
import React from 'react';
const App = () => {
return (<div>
<p className="content">If you want to lift yourself up, lift up someone else.</p>
<p><span className="author">— Booker T. Washington</span></p>
</div>)
}
export default App;This code defines a React component named "App". This function component does not take any arguments and returns a JSX element, which represents its view. The JSX rendered by this component contains a div tag with two p (paragraph) tags inside. The first p tag has a class name "content", which contains the quote. The second p tag includes a span tag with the class name "author", which contains the author of the quote.
To use this component, we need another file, index.jsx, which reads as follows:
import React from 'react';
import { createRoot } from 'react-dom/client';
import App from './app';

const domNode = document.getElementById('root');
const root = createRoot(domNode);

root.render(<App />);
Here's a detailed explanation of this code:
import React from 'react';imports the React library, a JavaScript library used for building user interfaces.import { createRoot } from 'react-dom/client';imports thecreateRootfunction, a new API for initiating and creating a Concurrent Mode.import App from './app';imports the React component named App. It assumes theAppcomponent is defined in theapp.jsxfile in the same directory.const domNode = document.getElementById('root');searches for an element with the id 'root' in the HTML document and saves it indomNode. This is the HTML node where we want to render our React application.const root = createRoot(domNode);creates a Concurrent Mode root using thecreateRootfunction. Concurrent Mode is a new React mode that allows React to interrupt and resume rendering, thus achieving smoother user experiences.root.render(<App />);renders theAppcomponent to therootdefined earlier. This line of code initiates the rendering process of the entire React application.
Now, we don't need hard-coded HTML files anymore. We only need to define an element with the id 'root':
<!DOCTYPE html>
<html lang="en">
<head>
  <meta charset="UTF-8">
  <meta name="viewport" content="width=device-width, initial-scale

=1.0">
  <title>Quote of the day</title>
  <link rel="stylesheet" href="style.css">
</head>
<body>
  <div id="root" />
  <script src="main.js"></script>
</body>
</html>
In this HTML code, the <script src="main.js"></script> line includes the main.js file, which contains the JavaScript code for our application, compiled by a build tool.
Bundling Tools
Now we face a challenge: the JSX code we've written, which is easily understood and maintained by developers, is not recognized by browsers. Browsers can recognize and execute JavaScript code, and they can manipulate page elements through DOM APIs, but they cannot recognize code like <App />. Therefore, we need a tool to translate our JSX into a format that the browser can understand.
Furthermore, since we're using frontend statements like import to use one JavaScript file inside another, browsers need a better way to identify these dependencies. The tool we need for this purpose is a Bundler.
A Bundler, or module bundler, is a tool that packages multiple modules into one or more files that you can run in a client-side environment like a browser. Bundlers often have other features, such as transpiling, code minification, and handling resource files like images and stylesheets.
The main roles of a bundler include:
- Dependency Management: Bundlers can track the dependencies between code modules and ensure they are loaded in the correct order.
- Code Optimization: Bundlers can optimize code through minification, tree-shaking, and other techniques, thereby reducing the size of the output files and improving the efficiency of the code.
- Code Transpilation: Bundlers can use tools like Babel to transpile modern JavaScript (or other languages like TypeScript) into older versions of JavaScript, allowing new language features to be run in more environments.
Common JavaScript bundlers include Webpack, Rollup, Parcel, etc., each with its own features and advantages. For example, Webpack is powerful and flexible, making it the most popular bundler. Rollup is better suited for library packaging and supports tree-shaking. Parcel requires no configuration and is suitable for rapid development.
ESBuild is a newer bundler with a focus on speed. ESBuild is written in Go and uses techniques like parallelization and caching to achieve a speed that is orders of magnitude faster than most JavaScript bundlers when dealing with large codebases. ESBuild also supports common bundling features such as loaders, a plugin system, etc., giving you the flexibility to handle various files and transpilation requirements.
First, we need to install esbuild:
npm install --save-exact esbuildUsing esbuild is straightforward. We need to specify an entry point — where our application starts. It will then automatically analyze the dependencies needed by this file and use the appropriate translator based on the file extension (for instance, a program that translates JSX into JavaScript), ultimately generating a result file.
We use the command below in the Shell to compile our application:
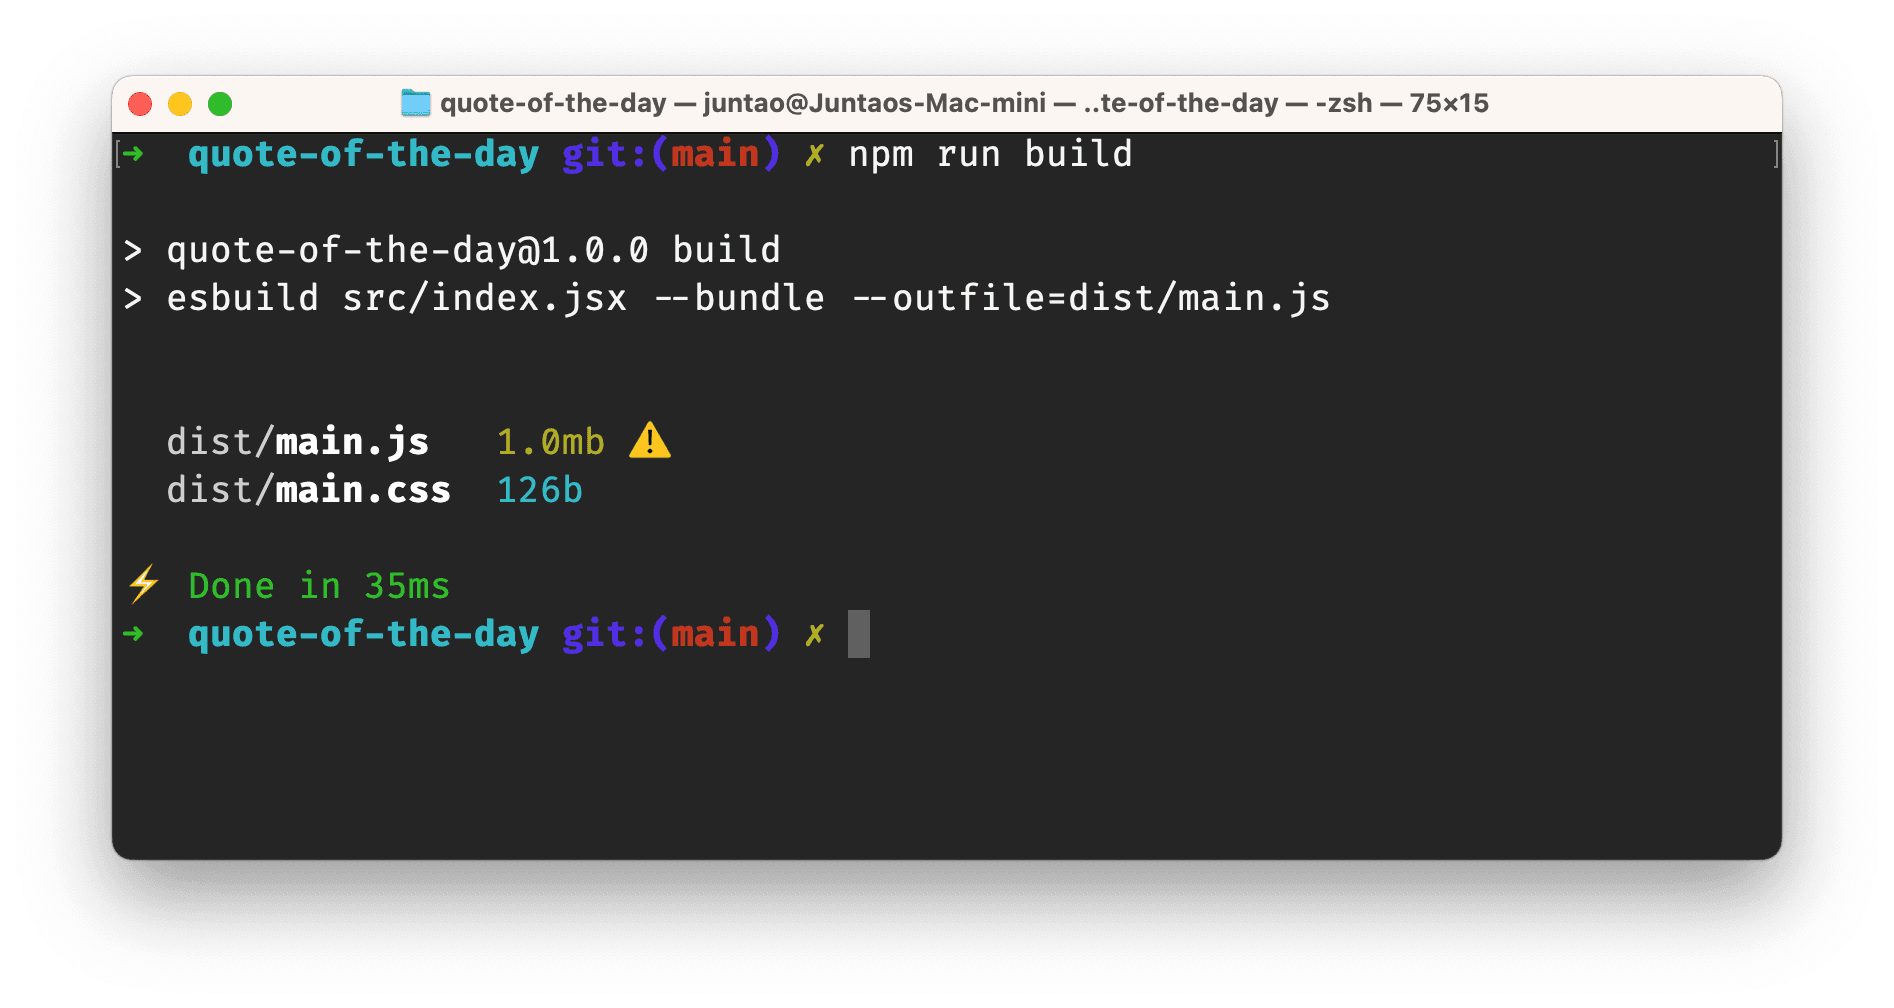
./node_modules/.bin/esbuild src/index.jsx --bundle --outfile=dist/main.js

  main.js  1.0mb ⚠️

⚡ Done in 41ms
This is a command line instruction to call the esbuild bundling tool, bundling the source code. Let's dissect this command and understand each part:
./node_modules/.bin/esbuild: This is the location of theesbuildexecutable within the project. Whenesbuildis installed in your project, its executable file is placed in thenode_modules/.bindirectory. This path is the relative path from the current directory to theesbuildexecutable file.src/index.jsx: This is the entry file thatesbuildneeds to bundle.esbuildwill start with this file, find all its dependencies, and bundle them together.-bundle: This is a command line option that tellsesbuildto bundle all modules together. Without this option,esbuildwill only transpile the code and won't bundle the modules.-outfile=dist/main.js: This command line option specifies the location and filename of the output file.esbuildwill output the bundling result to this file.
Now in the dist/main.js file, all the code is recognizable JavaScript to the browser. However, we don't want to manually input this command in the command line every time. We can modify the build task in package.json.
"scripts": {
  "build": "esbuild src/index.jsx --bundle --outfile=dist/main.js",
  "start": "http-server dist -p 3000"
},
The "build" script command is used to build the project. It uses the esbuild tool to bundle the src/index.jsx file and outputs the bundled result to the dist/main.js file. We can use the npm run build command in the command line to execute the build operation, generating the bundled file of the project.
Next, we can move the index.html to the dist directory.
mv src/index.html dist/Let's run our current build script to see the effect:
npm run build
npm start
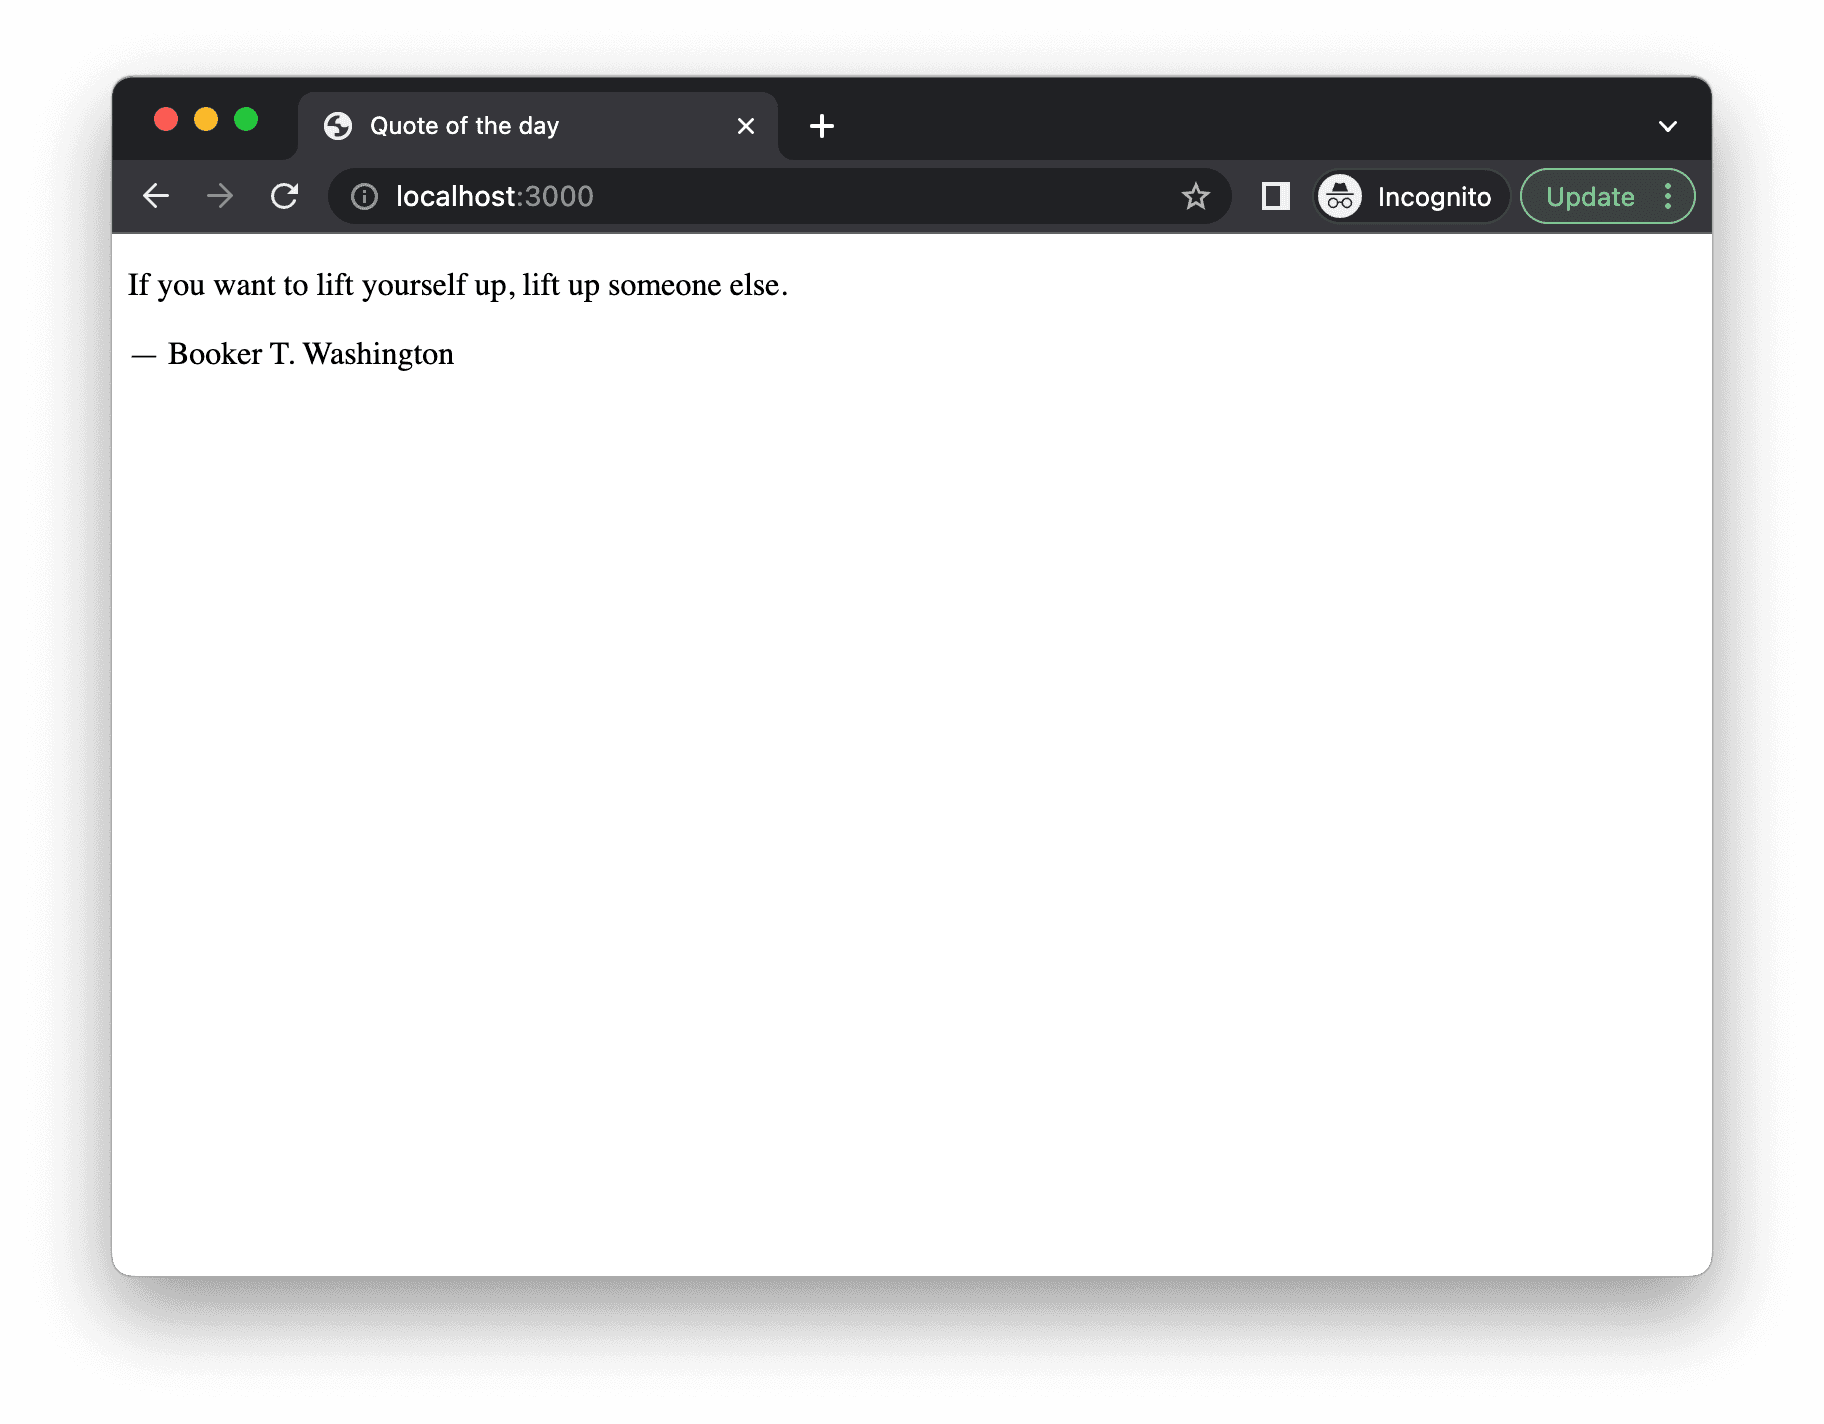
The functionality seems fine, but our famous quotes are not centered:

This is because we lost the CSS file during the packaging process. In the new code structure, we didn't mention the CSS file anywhere, so esbuild naturally doesn't know how to bundle it. We can include the style.css in index.jsx:
import React from 'react';
import { createRoot } from 'react-dom/client';
import App from './app';

import './style.css';

const domNode = document.getElementById('root');
const root = createRoot(domNode);

root.render(<App />);
After running npm run build again, we can see a file named main.css generated in the dist directory. We just need to reference this CSS file in index.html.

The content of the revised index.html file becomes:
<!DOCTYPE html>
<html lang="en">
<head>
  <meta charset="UTF-8">
  <meta name="viewport" content="width=device-width, initial-scale=1.0">
  <title>Quote of the day</title>
  <link rel="stylesheet" href="main.css">
</head>
<body>
  <div id="root" />
  <script src="main.js"></script>
</body>
</html>
Rebuild and then run npm start, now we can see the correct result in the browser.
Here we can summarize. We have now completed the transformation of the page from HTML to React. We introduced esbuild to compile React code and generate final JavaScript code that the browser can recognize. We modified the build task in package.json, so we don't need to manually call esbuild.
However, there is a small issue with the current process: if we modify the component code, we need to manually terminate the http-server (via CTRL+C), then manually execute npm run build, and then npm start again. Is there any way we can automatically detect our modifications and automatically compile main.js?
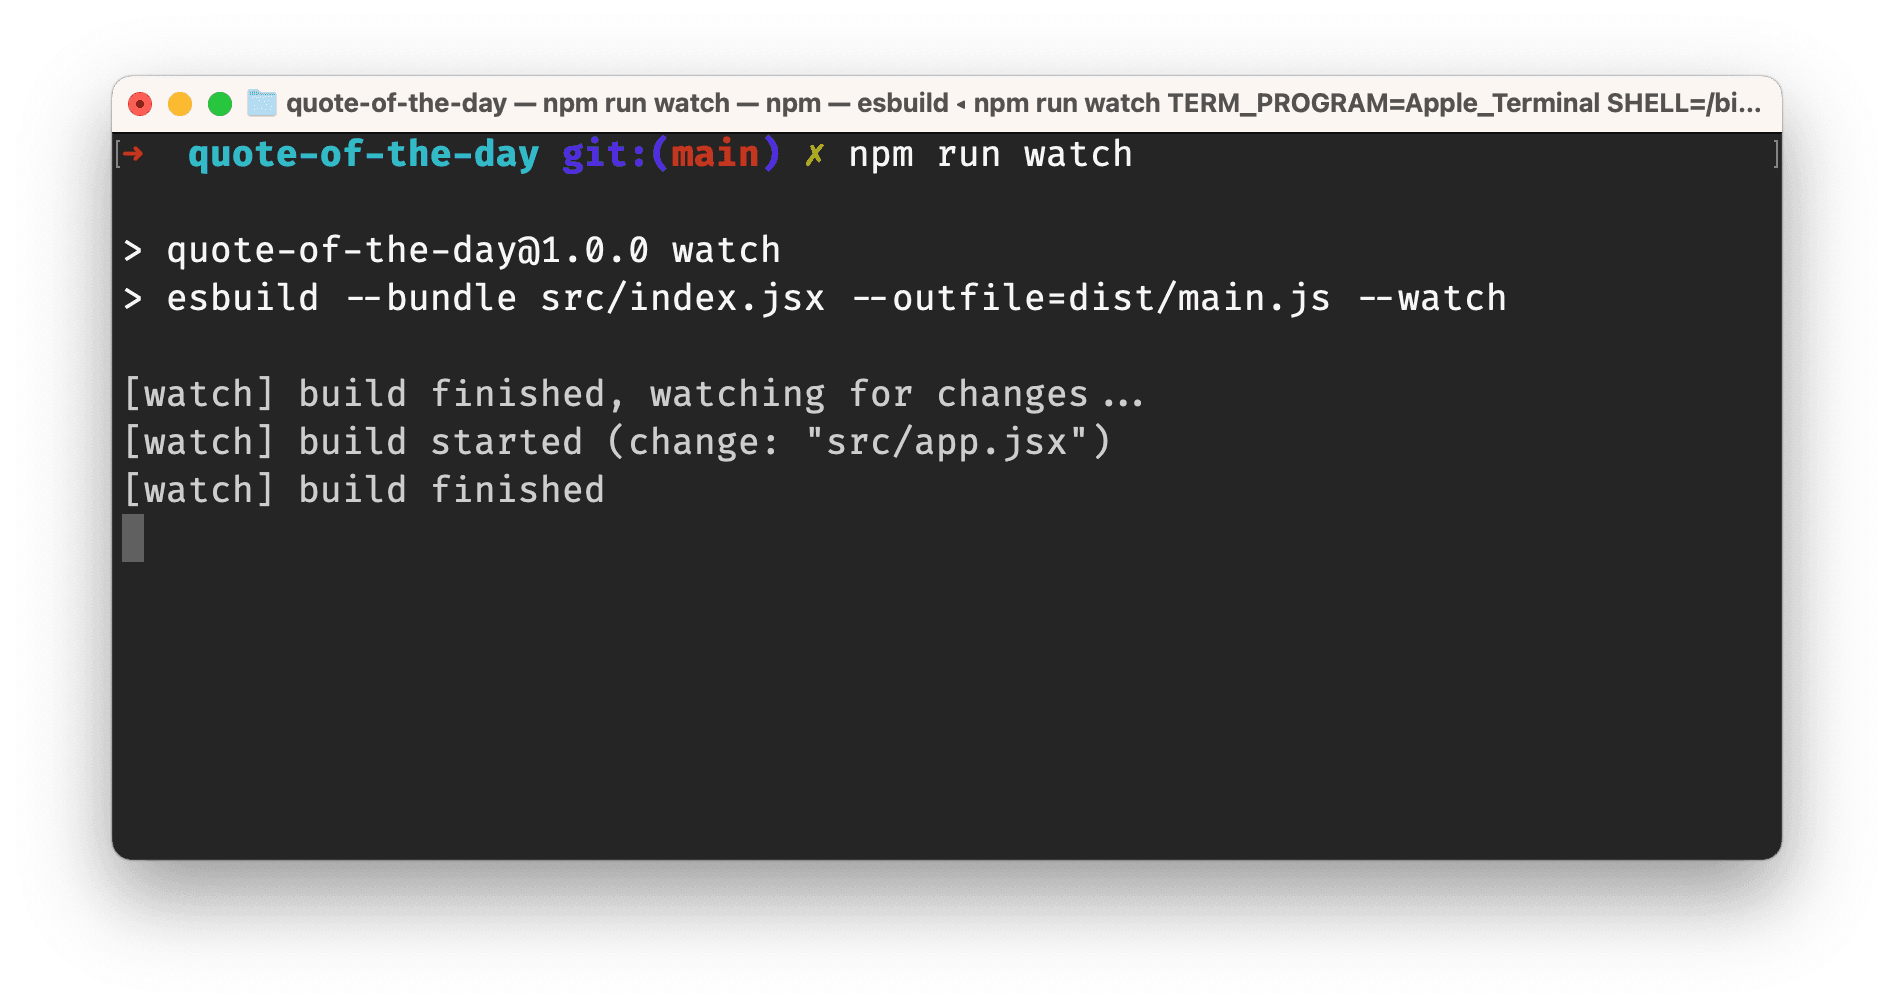
Yes, there is. We need to use the —watch option of esbuild to dynamically monitor file modifications. We need to define a new task in package.json:
"watch": "esbuild --bundle src/index.jsx --outfile=dist/main.js --watch"This way, we don't need to stop the http-server service. We just need to run npm run watch in another Terminal window.

Implementing the "Next Quote" Feature
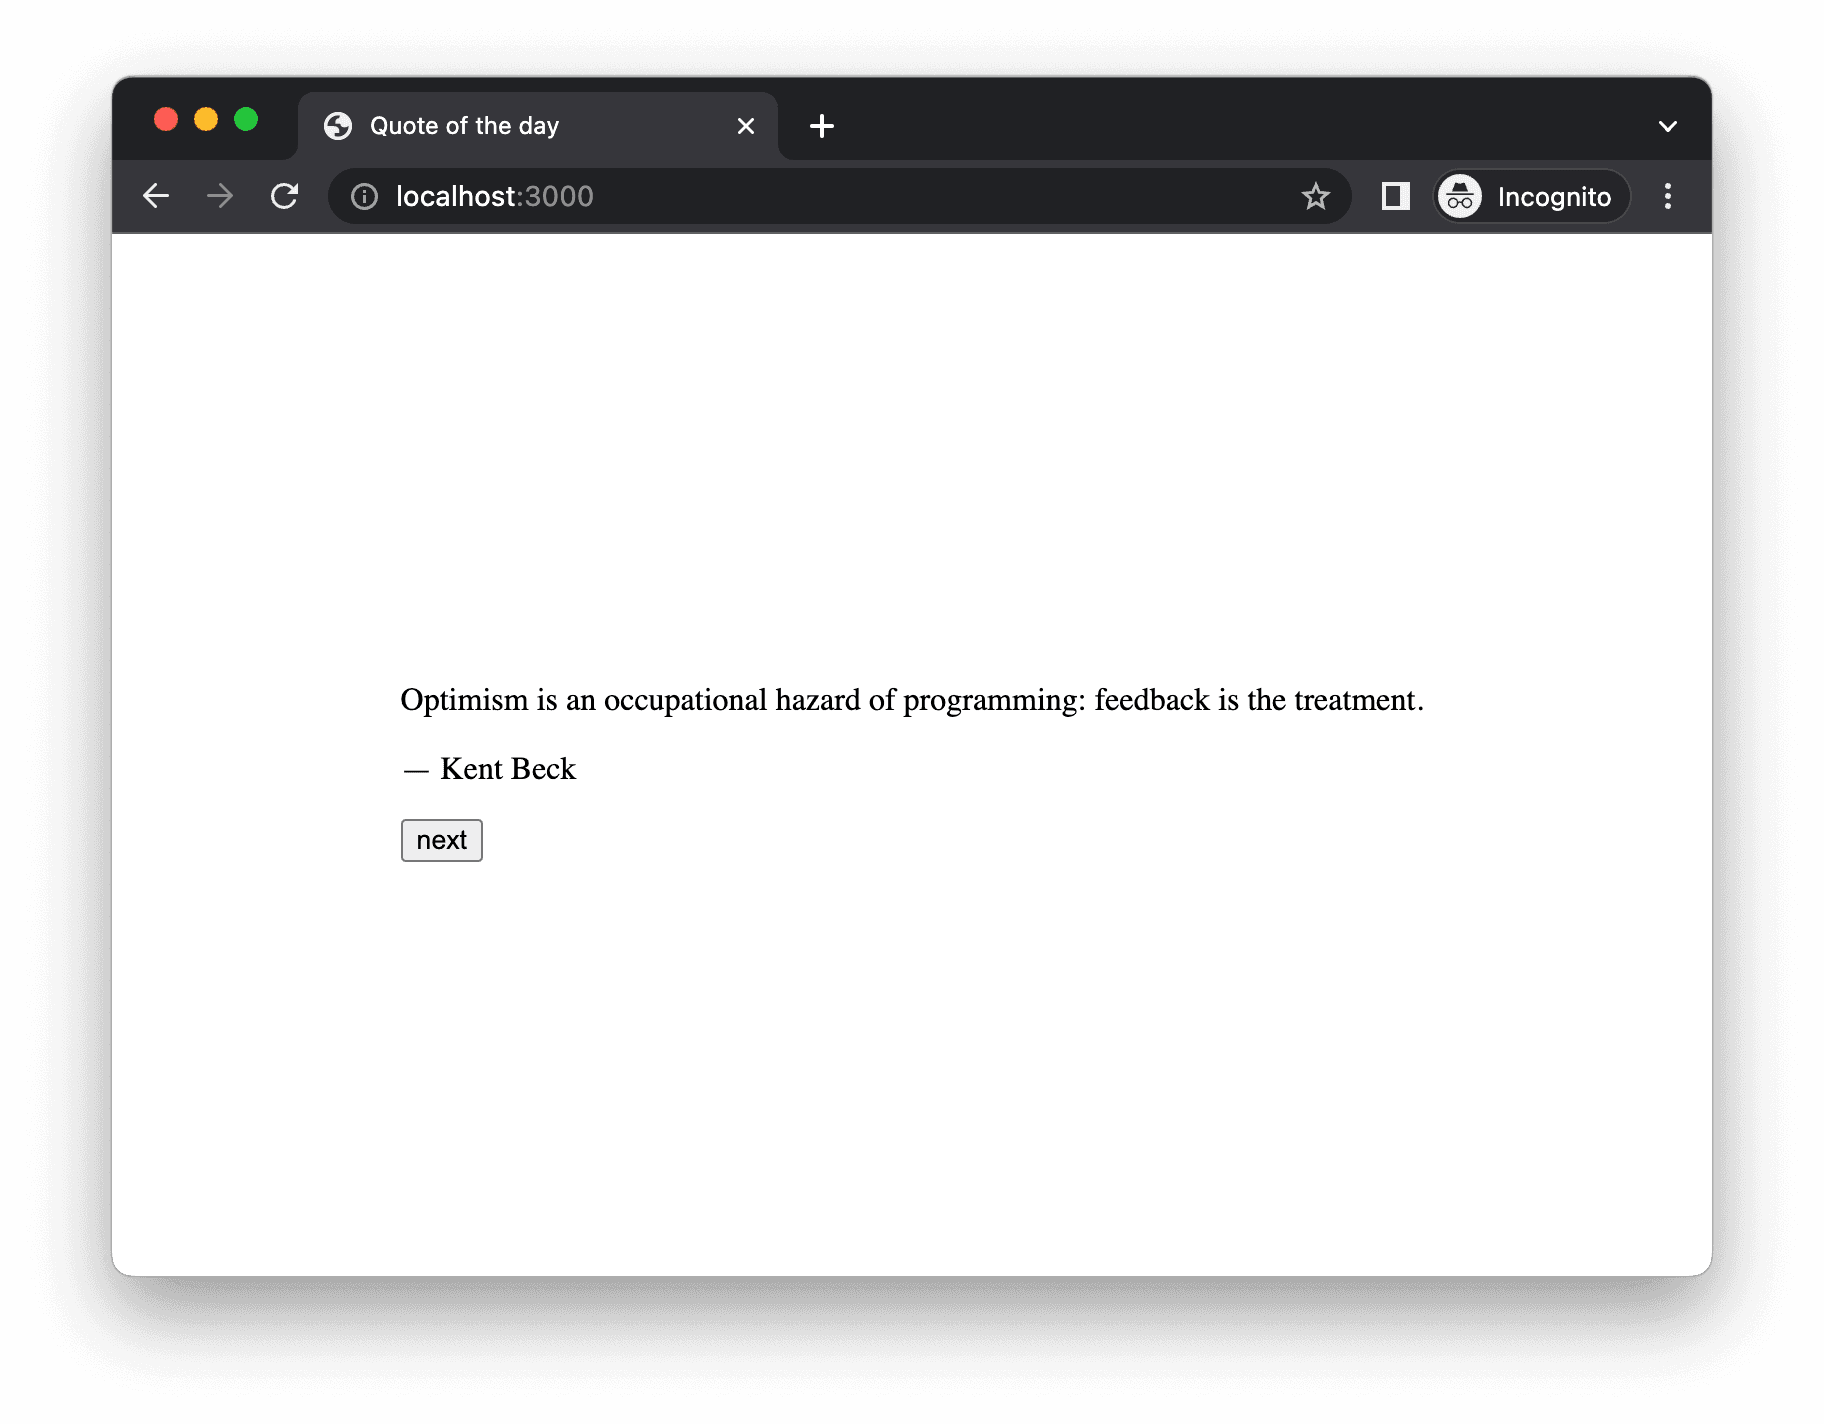
With these automation scripts as infrastructure, we can start developing the "Next Quote" feature. We first need to define an array, then add a button in the App component. When the user clicks the button, we update the index of the array, get the next quote, and display it.
const quotes = [
  {
    content:
      "Any fool can write code that a computer can understand. Good programmers write code that humans can understand.",
    author: "Martin Fowler",
  },
  {
    content: "Truth can only be found in one place: the code.",
    author: "Robert C. Martin",
  },
  {
    content:
      "Optimism is an occupational hazard of programming: feedback is the treatment.",
    author: "Kent Beck",
  },
];
First, we define an array of quotes, each element containing a content field and an author field. Then modify App.jsx to the following content:
const App = () => {
const [index, setIndex] = useState(0);
const clickHandler = () => {
setIndex((index) => (index + 1) % 3);
};
return (
<>
<div>
<p className="content">{quotes[index].content}</p>
<p>
<span className="author">— {quotes[index].author}</span>
</p>
</div>
<button onClick={clickHandler}>next</button>
</>
);
};In App, we used React's built-in useState function to manage a state variable index and provide a function to update that state, setIndex. The initial value of useState is 0, meaning, index is initially set to 0.
Then we defined a function called clickHandler that updates the value of index by calling setIndex. The new value of index is dependent on the current index value, incrementing it by 1 then taking the modulus by 3, so the value of index loops between 0, 1, 2.
In the return value of the component, we used a set of p tags to display the values of quotes[index].content and quotes[index].author, quotes may
be an array containing quotes, and index is used to select which quote to display.
Also, the returned JSX includes a button, its onClick property is bound to the clickHandler function. So, whenever a user clicks this button, the clickHandler function will be called, thereby updating the value of index.

Conclusion
In this chapter, we introduced how to convert our HTML static page into a React application and use esbuild for building and compiling. We also added a feature to the application: click the button to get the next quote. In the process, we learned to further expand build scripts to achieve the automation of local compilation.
These seemingly straightforward steps are crucial for achieving advanced automation in development. Throughout the development process, it is essential to actively seek opportunities to enhance efficiency. When encountering manual and repetitive tasks, it becomes imperative to explore the potential of employing shell scripts for automating them.
You have Completed Chapter 4
With React integrated and the app's functionality expanded, you've made significant progress. The journey continues as we delve into more advanced development techniques.
Having built a React-based interface, the next step will involve enhancing the app's functionality and exploring more complex development aspects.