Enable Static Analysis
Chapter 7 focuses on incorporating ESLint for static code analysis in the 'Quote of the Day' app. It covers installing and configuring ESLint, integrating Git Hooks for automated code quality checks, and using Husky to manage Git Hooks for a consistent development environment. The chapter emphasizes the importance of maintaining code quality and consistent coding styles, especially in collaborative projects.
In this chapter, you will learn
Enable Static Analysis
At the end of the previous chapter, our 'Quote of the Day' app had grown significantly more complex than the initial static page. We've added a custom hook for network requests, the 'Quote' component for displaying data, dedicated CSS, and some test code. With more code integrated into the project, we need to consider how to ensure the internal quality of the code.
In software development, there are often multiple ways to accomplish a given task. For instance, you can write all the code within a single component or divide it into several independent components. You can inline styles into JSX or define them in separate files. You could use arrow functions or the 'function' keyword, and so on.
Especially in collaborative projects, it's essential to use tools to ensure consistent coding style across the team. Consistent code styles lead to more efficient understanding and modifications of the codebase. These tools are known as linters.
In JavaScript projects, we use linters like ESlint to automatically detect potential issues in the source code. These issues can include syntax errors, inconsistent coding styles, unused variables, possible logical errors, etc. ESLint can help developers find and resolve these problems before the code is run or deployed.
The main reasons for using ESLint in a project include:
- Maintaining a consistent coding style: ESLint helps developers adhere to a consistent coding style, making the codebase more readable and maintainable. Development teams can define their own coding style rules, which ESLint enforces automatically.
- Improving code quality: ESLint helps developers enhance their code quality by checking for common programming and logic errors, thus reducing time wasted on debugging simple mistakes.
- Promoting best practices: ESLint includes many rules related to best practices, such as prohibiting the use of deprecated language features or recommending more efficient solutions. This helps developers better understand and adhere to the latest and best development practices.
- Integration into build process: ESLint can be incorporated into the build process, such as running linting before every code commit or within a Continuous Integration (CI) workflow. This ensures that only code that meets the defined style and quality guidelines can be committed or deployed.
Configuring ESLint
We first need to install and configure ESLint, which includes a built-in configuration script that helps developers quickly set up the tool. Execute the following command at the root directory of the project:
npm init @eslint/configThe configuration script will ask several questions. We configure it according to the requirements of our 'Quote of the Day' project:
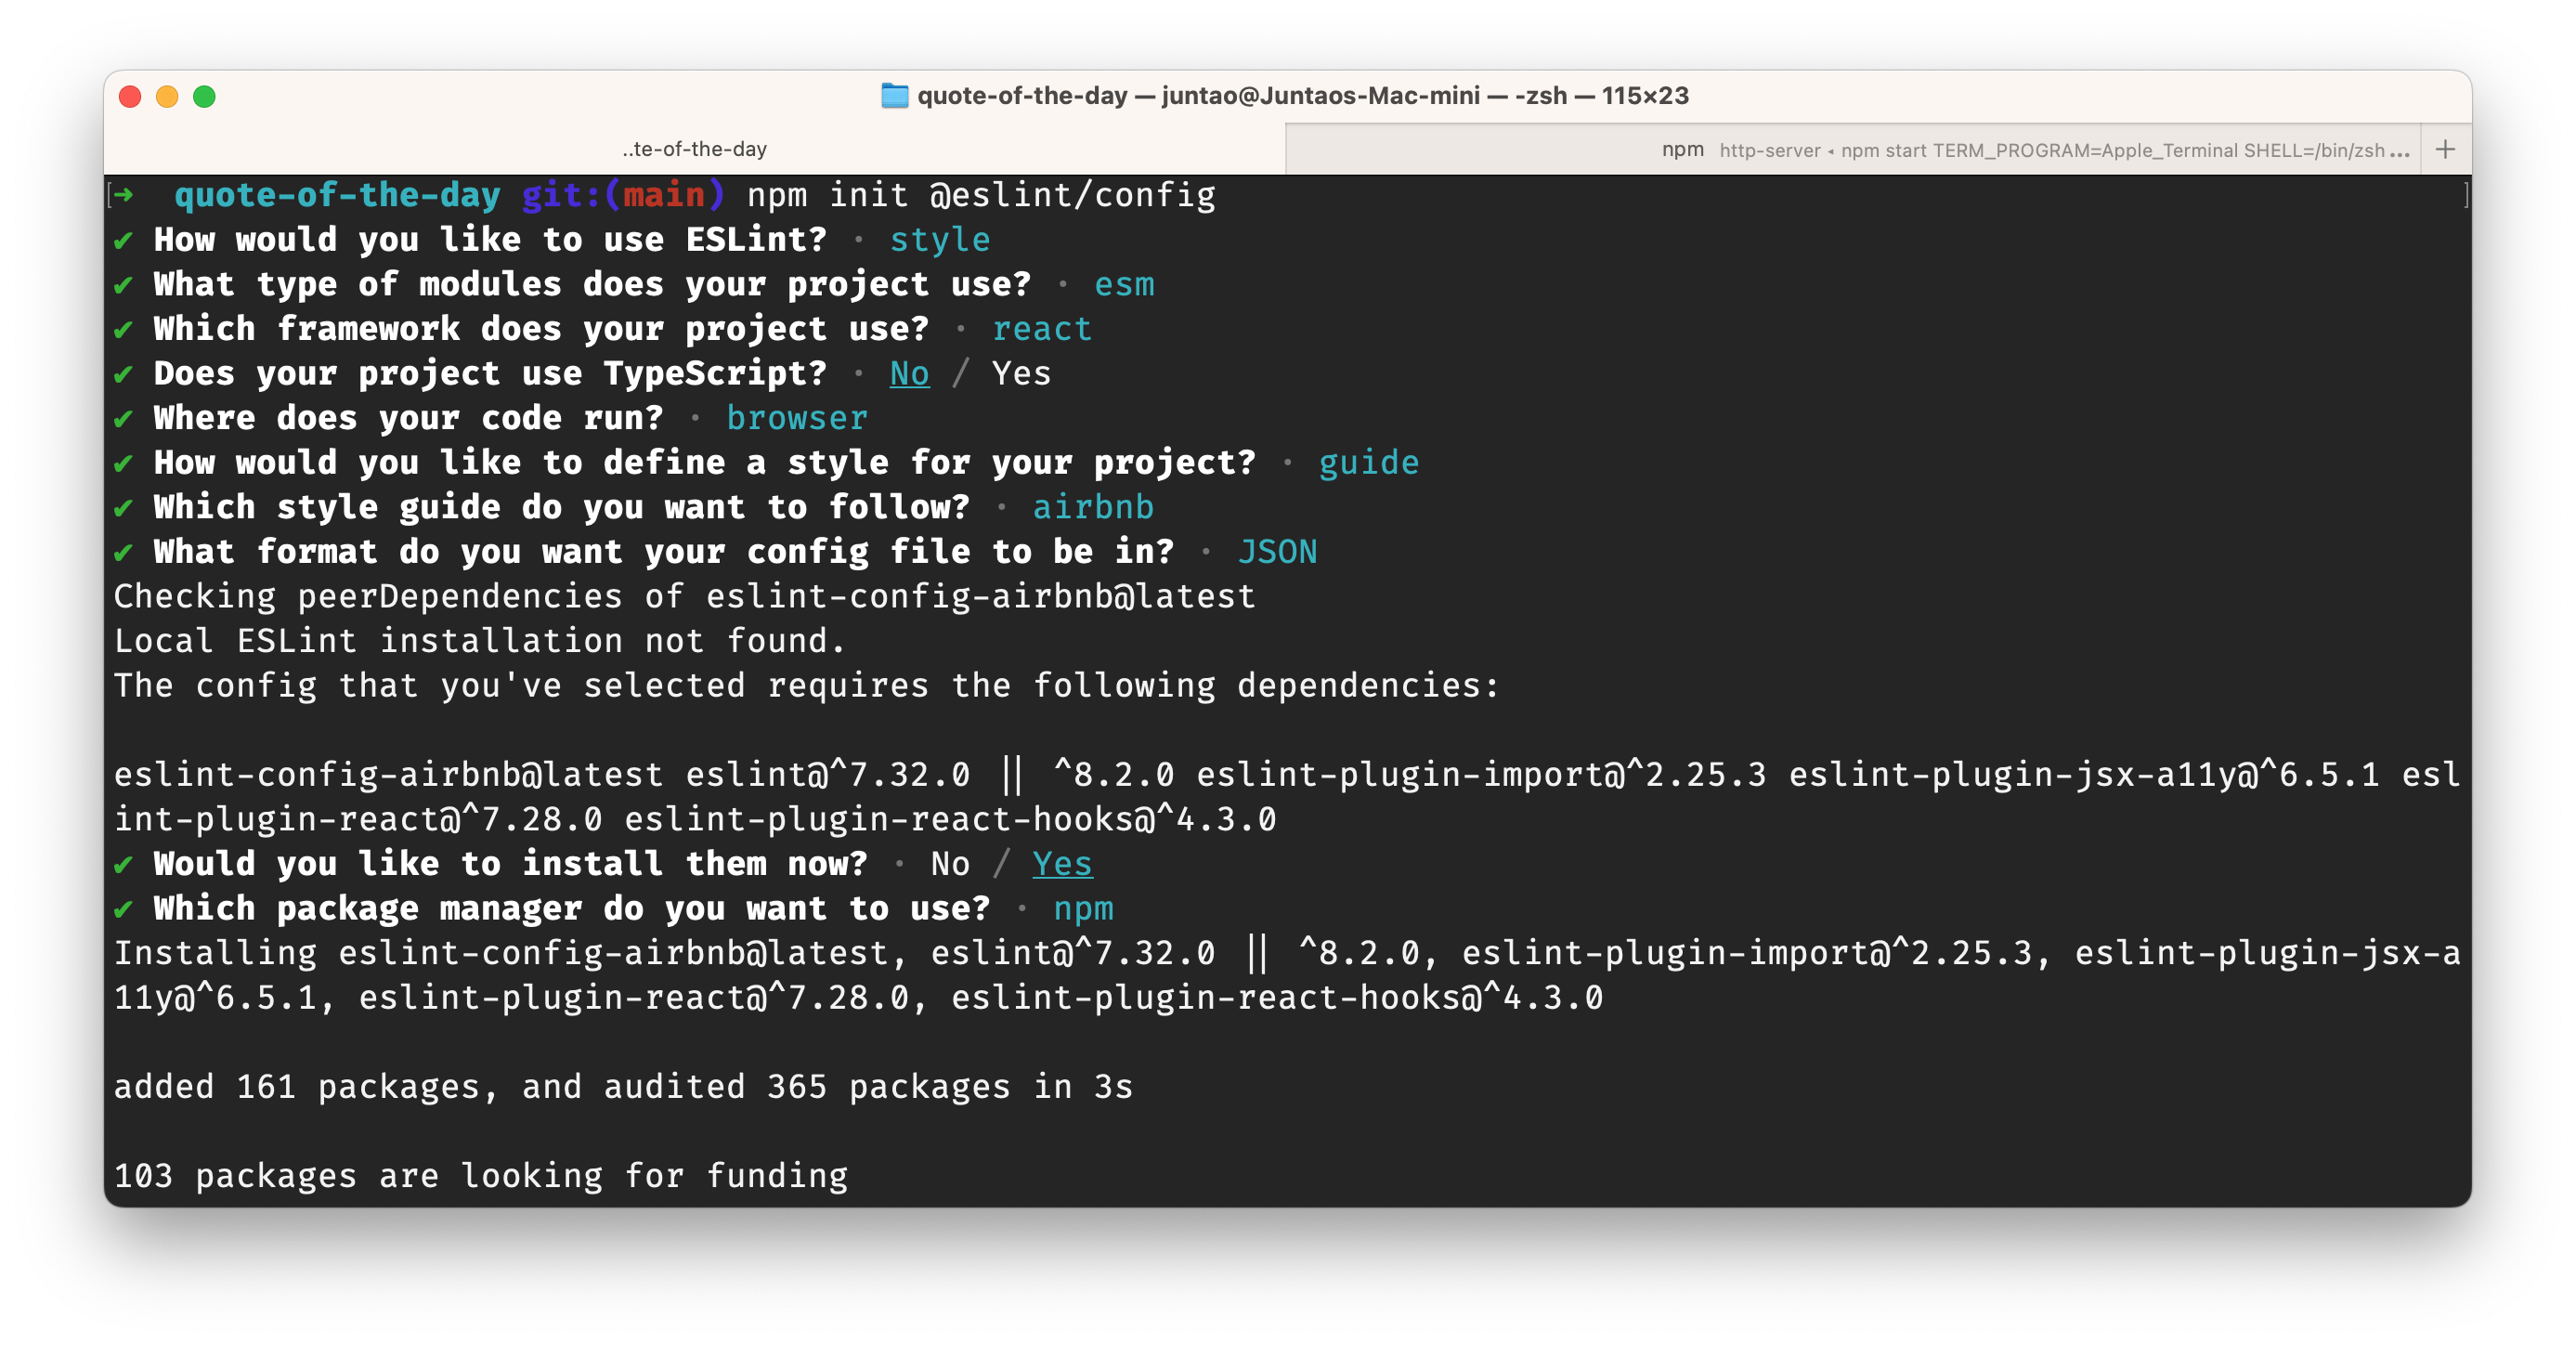
The script decides which dependencies to download based on our choices. Once the installation is completed, we can use ESLint locally to check our code:
node_modules/.bin/eslint src/This command instructs ESLint to check the src directory. As we adopted Airbnb's coding style (a widely used set of rules) in the previous step, some issues have been flagged:
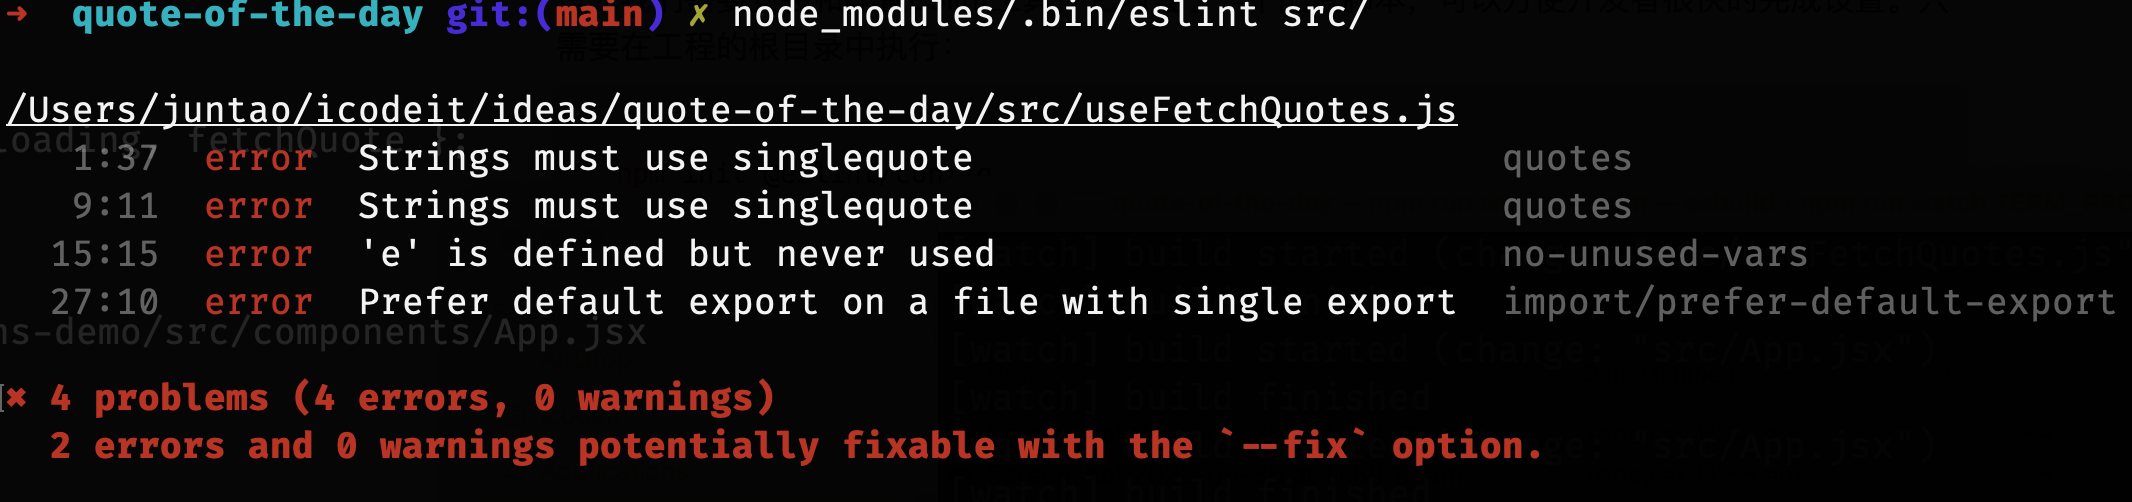
The errors indicate in the file quote-of-the-day/src/useFetchQuotes.js that:
1:37 error Strings must use singlequote quotes: The code uses double quotes for strings, while the ESLint rule requires single quotes. We need to change the double quotes to single quotes.9:11 error Strings must use singlequote quotes: The same issue as above.15:15 error 'e' is defined but never used no-unused-vars: The variableeis defined but not used anywhere in the subsequent code. This could mean that there's a missed use of this variable somewhere, or the
variable is redundant and can be removed.
4. 27:10 error Prefer default export on a file with single export import/prefer-default-export: This rule requires using a default export instead of a named export when there's only one export in a file. We need to change the named export in the code to a default export.
Additionally, ESLint suggests using the --fix option to automatically resolve these errors. If we run node_modules/.bin/eslint src --fix, ESLint automatically changes double quotes to single quotes. However, for the unused variable e and the default export issues, ESLint doesn't know how to handle them, requiring manual correction.
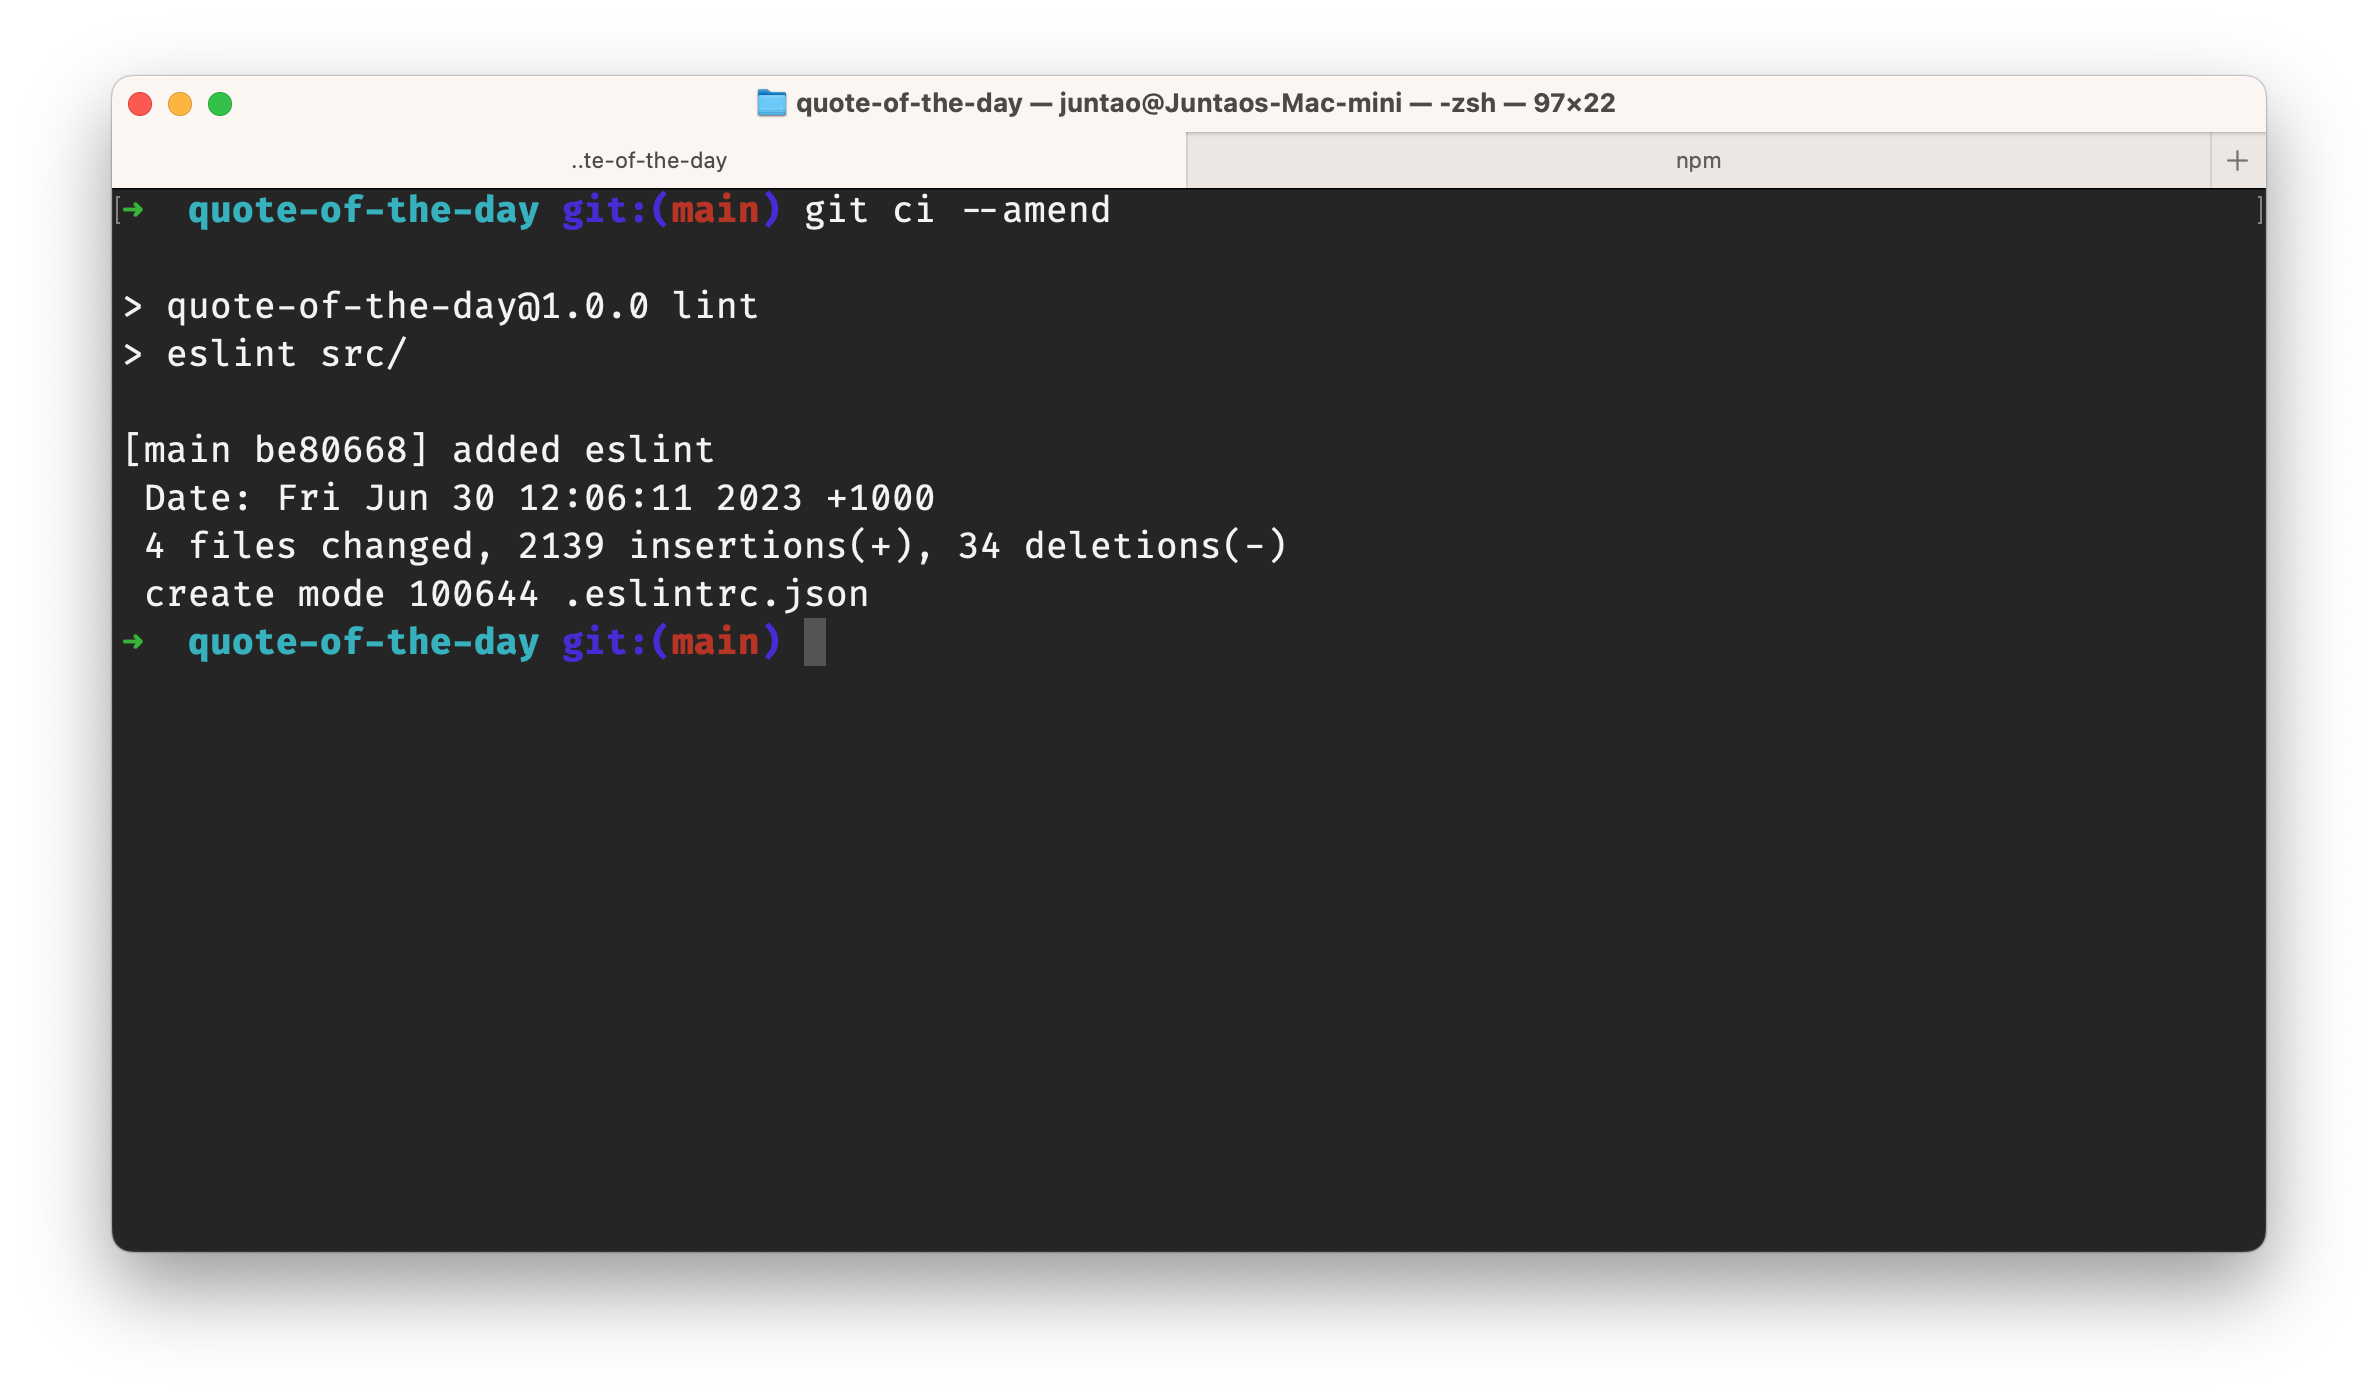
Like other build tasks, we can add linting to package.json to simplify our work. Our updated scripts section now looks like this:
"scripts": {
  "e2e": "cypress run --spec cypress/e2e/*.spec.cy.js",
  "build": "esbuild src/index.jsx --bundle --outfile=dist/main.js",
  "start": "http-server dist -p 3000",
  "watch": "esbuild --bundle src/index.jsx --outfile=dist/main.js --watch",
  "lint": "eslint src/"
},
With static analysis, automated testing, building, and local services tasks, our local development becomes much more convenient. For instance, before committing code, we can run linting. If everything is normal, we can then run automated tests, build the package, and finally push the local commit to the remote server.
However, some of these steps still require manual intervention. If we (or other developers) forget to perform linting, unregulated code might be committed. It would be better if we could prevent such errors from happening in the first place. We can achieve this by using Git Hooks to automate these tasks.
Git Hooks
Git Hooks is a powerful feature that lets you trigger custom scripts at crucial points in Git's workflow. In the Git repository, there's a directory called .git/hooks containing some sample scripts. These scripts are triggered when you perform operations like commit, push, or checkout. Both the server and client can run these scripts, facilitating automation workflows.
Git Hooks can be divided into two main categories:
- Client-side Hooks: These hooks are triggered during local operations like commits and merges. They can help conduct code reviews and style checks during commits to ensure code quality.
- Server-side Hooks: These hooks are triggered after code is pushed to the server. For instance, you could set up a hook to automatically deploy your app after the code has been pushed to the main branch.
You can write Git Hook scripts using any executable file, such as shell scripts or Python scripts. Within the script, you can access variables and parameters from the Git environment to implement various custom functionalities.
For example, the pre-commit hook can be used to run a linter or unit tests before a commit. If these checks or tests fail, the commit will be aborted, ensuring no low-quality code is committed.
Let's define a client-side hook that conducts a static check and reports syntax errors or issues not conforming to the coding style each time a commit is generated.
First, we need to create a new file named pre-commit in the .git/hooks directory with the following content:
#!/bin/sh

npm run lint
Now, when we run git commit from the command line, this hook will be automatically triggered:
If the run is successful, the commit is created. Otherwise, an error message will be displayed, and the commit will fail. We need to fix the code and try to commit again.
Similarly, we can define a pre-push script and execute npm run e2e before a push to ensure the functionality is correct.
However, as mentioned before, the Git Hooks we defined here can only be used locally. If other team members want to use the same scripts, they will have to rewrite them. Therefore, we need to use the Husky tool to manage these scripts, ensuring a unified environment for everyone.
Using Husky
Husky provides script configuration. All you need to do is execute:
npx husky-init && npm installThis will complete the initialization and installation. Once the configuration is done, a .husky directory is created in your local directory. This is where we place our custom hooks. Furthermore, the configuration script will modify the package.json by adding a prepare task:
"prepare": "husky install"Now, when we (and other programmers in our team) run npm install, Husky gets installed. By default, Husky creates a pre-commit file in the .husky directory with the following content:
#!/usr/bin/env sh
. "$(dirname -- "$0")/_/husky.sh"

npm test
We need to change npm test to npm run lint:
#!/usr/bin/env sh
. "$(dirname -- "$0")/_/husky.sh"

npm run lint
Then we add the entire .husky directory to Git for management, ensuring that everyone in the team can obtain the same environment.
Summary
In this chapter, we introduced the static code analysis tool, ESLint, and defined a new task lint. Additionally, we described how to configure Git Hooks and Husky to automate the execution of predefined scripts at appropriate times. Not only does this prevent oversight from developers, but it also allows the whole team to use the same configuration, thereby significantly reducing the probability of errors.
In the next chapter, we will learn how to configure remote servers to ensure that our program can work not only locally but also correctly on the server side.
You have Completed Chapter 7
With static analysis tools in place, you're enhancing the internal quality of your project, paving the way for efficient and error-free development.
Next, we will set up remote server configurations to ensure the app functions correctly not only locally but also in a server environment.